Where can I find the original treat?
- These treats can be found all over the Disneyland resort.
Santa was out riding around Disneyland on Halloween, which was kinda weird, what with jack-o-lanterns still hung up everywhere. It’s that narrow time frame of transition at the parks where everyone is itching for Christmas, but we still had to get through Halloween first. And now that trick or treating is behind us, I’m still here for the pumpkins. That’s why this week’s treat recipe is Pumpkin Cake Pops!
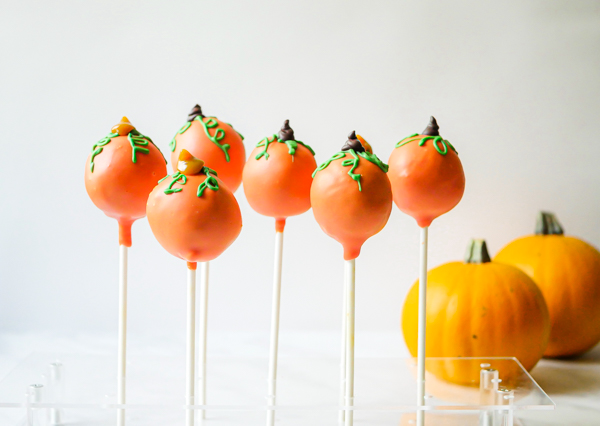
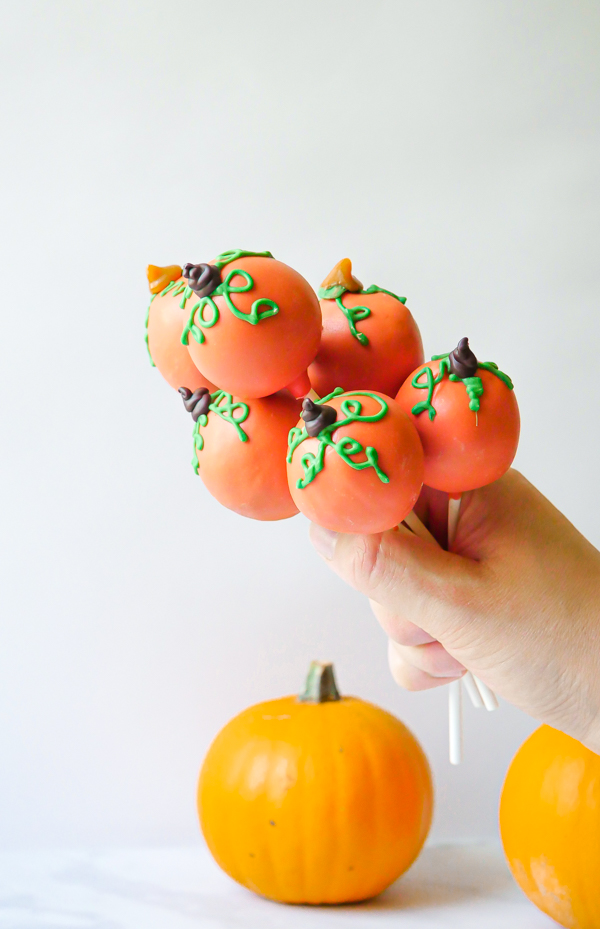
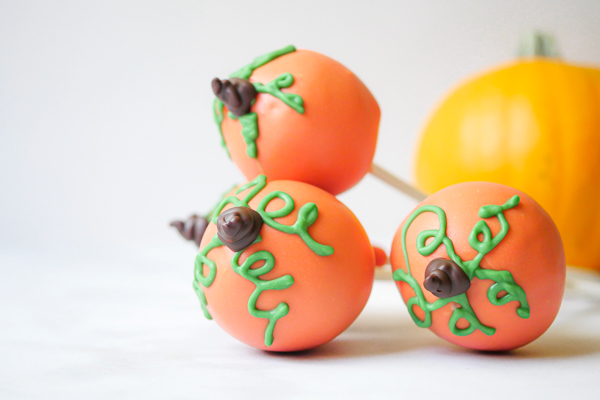
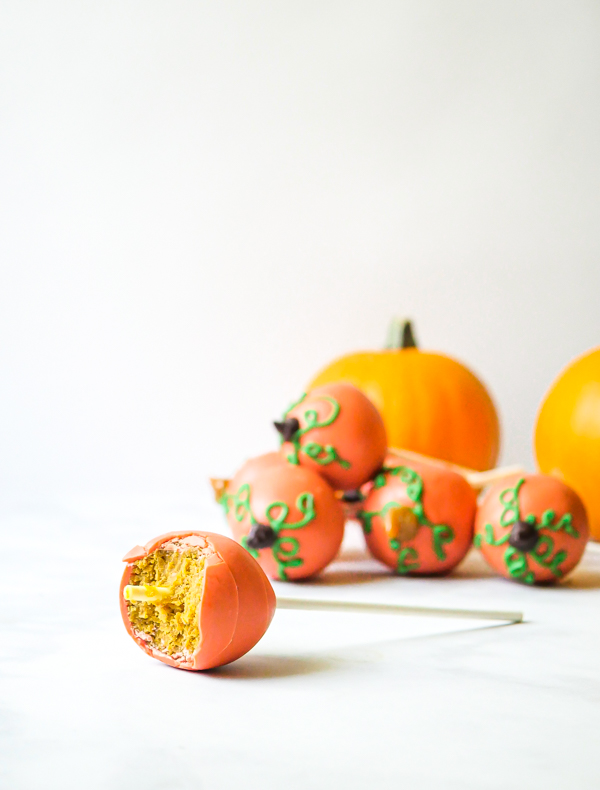
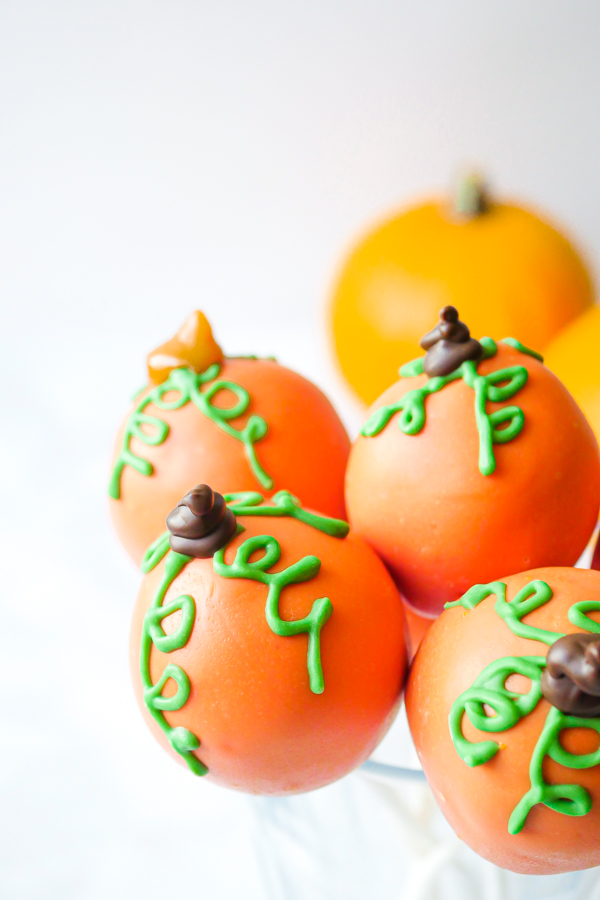
These pumpkin spice, pumpkin shaped cake pops have a wonderful punch of baking spices that will have you longing for a piece of pumpkin pie. They’re coated with orange and green chocolate, and a caramel stem, and the bakers did a great job of adding in a hint of molding so that these cake pops really do resemble little pumpkins. And now you get to have them at home too!
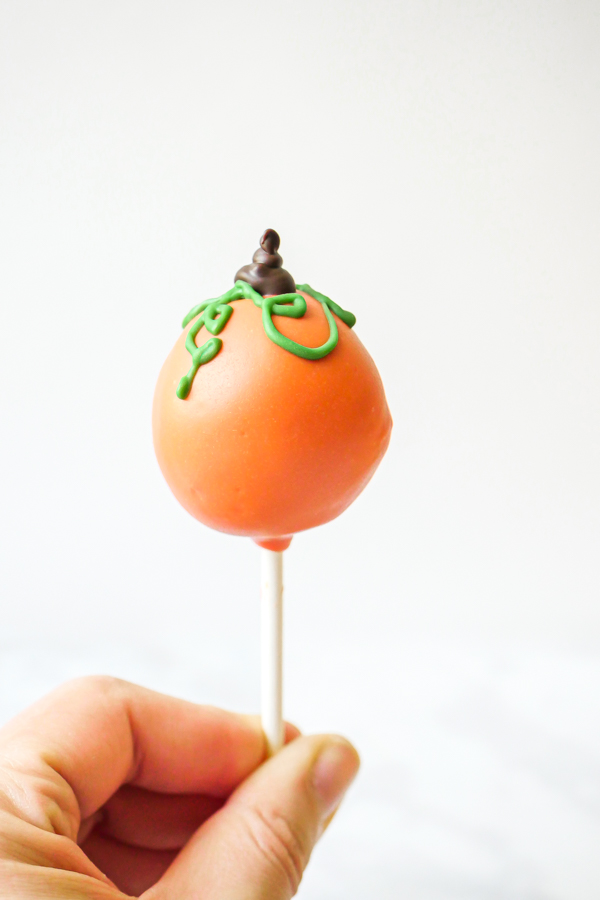
Cake pops are one of those treats that look easy to make, but actually require a little finesse to get it right, but don’t let that stop you! I’ve got some tips and tricks in the notes section below the recipe to help you out. These cake pops can be made all from scratch, a combo of pre-made items, or all store bought! The recipe I use from scratch makes for a moist cake that holds its shape well after forming a ball, and has a balanced amount of spices with real pumpkin in the mix. I use a cream cheese frosting that is super creamy and makes a great “glue” here. You can also choose to color white chocolate, or use pre-colored candy melts too.
![]() Now, while all kids can definitely help roll the cake into balls and attach to the sticks, older kids might be better suited to coating the chocolate, as there is some technique involved there. However, you know your own kids, and if it comes down to it, you can just throw all the cake balls into the chocolate and have cake bon bons instead of pops. And then everyone can help decorate. That actually sounds pretty fun.
Now, while all kids can definitely help roll the cake into balls and attach to the sticks, older kids might be better suited to coating the chocolate, as there is some technique involved there. However, you know your own kids, and if it comes down to it, you can just throw all the cake balls into the chocolate and have cake bon bons instead of pops. And then everyone can help decorate. That actually sounds pretty fun.
So let’s enjoy pumpkin season while it lasts, because we might not make it to Thanksgiving when all the peppermint treats that are about to drop at Disneyland. Have a magical day everyone!
Pumpkin Cake Pops
- Yield: 7 cake pops 1x
Description
Moist, perfectly spiced pumpkin cake pops are coated in orange and green chocolate to resemble tiny pumpkins. A Disneyland-inspired treat.
Ingredients
For the cake balls:
- 2 cups (~210 g) loosely packed crumbled pumpkin spice cake crumbs
- 1/4 cup (32 g) cream cheese frosting
- ***Both recipes can be found here if making from scratch (recipe makes more than you’ll need here. see notes below about freezing extra components)
For the decoration:
- 6–1/2 ounces (3/4 cup) orange candy melts
- 1–1/2 ounces red candy melts
- 1/2 ounce (~1 tablespoon) green candy melts
- 1/2 ounce (~1 tablespoon) dark cocoa candy melts OR 2 caramel squares
Special Tools:
- 1 ounce disher
- lollipop sticks
- pastry bags
- cake pop holder OR shoe box base for drying cake pops
- scribe
Instructions
For the cake balls:
- If baking from scratch, follow directions for cake, cool completely and crumble half for recipe. Eat or freeze the rest of the recipe for another time.
- If making frosting from scratch, make and set 1/4 cup aside. Use or freeze the rest for another recipe.
- Combine cake crumbles and frosting in the bowl of a stand mixer with paddle attachment until fully incorporated. You can also mix well in a bowl with a rubber spatula. If too wet, add more cake crumbles. If too dry, add more frosting a small bit at a time.
- Using a 1 ounce disher, scoop out cake mixture and form a tight ball. Push a lollipop stick halfway into the ball. Set aside in the cake pop stand, or make holes in the bottom of a shoe box and stick the cake pops in there. Repeat until all the mixture is gone.
- Refrigerate at least one hour to firm up, or up to two days.
For the decoration:
- Take out the cake pops and let warm up slightly at least 10 minutes.
- Melt the orange and red candy melts in the microwave inside a microwave safe bowl, like glass, for 30 seconds. Stir and microwave again for an additional 30 seconds. Keep stirring and microwaving in short bursts of 15-20 seconds until melted and smooth. Use can alternatively use a double boiler for melting.
- Next, holding the cake ball over the melted chocolate, use a spoon to ladle the chocolate over it, turning and pouring to get an even coat. Tap gently so excess chocolate drips off and air bubbles get released. Use a scribe to pop any bubbles that do not break.
- Set them back in the cake pop holder and continue until all of the cake pops are coated.
- Next, melt green and dark cocoa chocolates using the same method from above.
- Transfer the green and dark cocoa candy melts to separate piping bags and cut a small tip off each bag.
- Use the green to decorate green vines on each cake pop.
- Then use the dark cocoa to pipe small stems on each pop. If making the caramel stems (similar in style to the cake pops found at Disneyland), melt caramel squares in the microwave in short bursts at half power until soft but not melted. Cool slightly and take small chunks of the caramel out with a toothpick and attach to the top of the cake pops, using wet fingers to mold the caramel into a stem.
- Refrigerate at least an hour to set. Then enjoy!
Notes
- Cake balls should not be too wet or too dry to hold their shape properly. If too wet, add more cake crumbles. If too dry, add more frosting a small bit at a time.
- If cake balls are slipping off the sticks, dip lollipop stick tip in the melted chocolate and insert into cake ball. Refrigerate a few minutes to set.
- If you do not pop the air bubbles, then moisture from the cake will seep out as the chocolate dries. If this happens, gently wipe away anything that has seeped out, and coat a second time in the melted chocolate.
- Don’t let the green or chocolate candy melts get too hot or they will run when trying to pipe out decorations. Allow to cool a bit after melting for more set lines.

[…] the vanilla, chocolate, and red velvet cake pops found in Disneyland. (And if you want to make a pumpkin spice version, we’ve got that too!) As this is more of a tutorial post, I wanted to keep it short with just […]